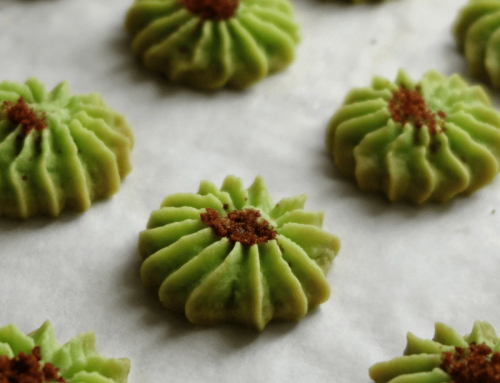
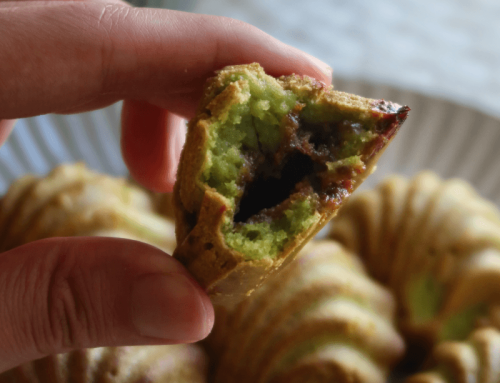
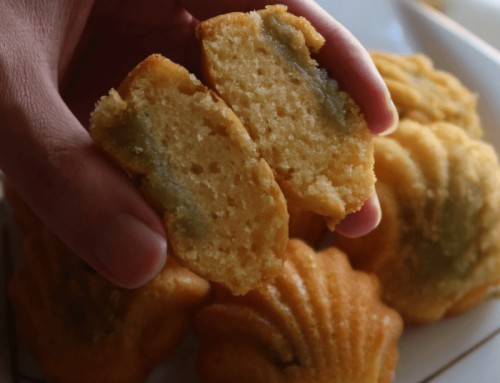
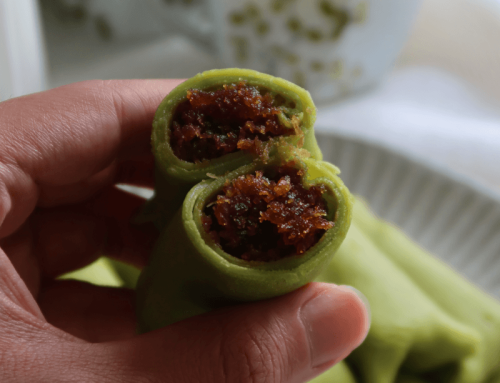
With the advancement of Air Fryer technologies, air frying pineapple tarts is an absolute possibility too! To put this theory to test, I decided to make these Golden Air Fryer Pineapple Tarts with my delicious, foolproof easy pineapple tarts recipe.
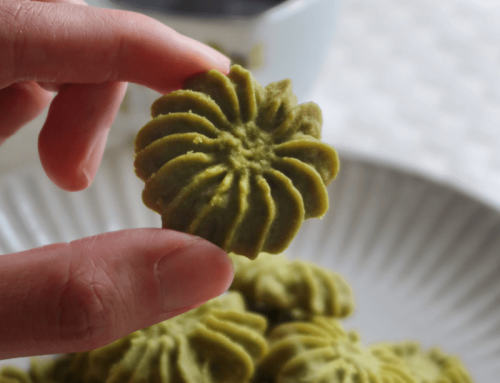
Suffice to say, this was a great success and they taste equally delicious! In fact, this method also allows you to produce a light crisp at the exterior should you prefer so!

To convert our usual pineapple tarts recipe to one that is air fryer compatible, there are two factors we would need to consider.
Firstly, the heat (temperature) of baking these pineapple tarts. Each of these pineapple tarts is brushed with an egg wash before baking to produce that golden sheen. However, too high of heat can cause it to become brown, giving it a burnt appearance. This is especially so for air fryer which blasts constant high heat at these tarts. As such, it’s important to reduce the temperature to bake these as compared to what we would do so for the oven.
Furthermore, these Golden Air Fryer Pineapple Tarts would also require a check-in near completion, to ensure that it is not burnt.
Secondly, the timing. This is going to get quite subjective depending on the size of the air fryer and the doneness each of us prefer. As such, I’ve provided recommended timings based on my experience and preference.
The best way I would suggest you to go about doing this is to bake a sample batch first of a smaller amount, say 5. This allow you to gauge what’s the perfect timing for doneness and preference based on your own air fryer.
Once you’ve consider these two factors, you can honestly bake any pineapple tart recipe you like – it should work. Nonetheless, I thought to still include my Golden Air Fryer Pineapple Tarts recipe here because it’s tried and tested, and absolutely delicious.
Oh – and I do still have a personal preference to place a piece of parchment paper, and if available, a small tray (that comes with your air fryer). This prevents the bottom from browning too much which happens when you place the tarts on the air fryer direct.
Without further ado, the recipe!
Golden Air Fryer Pineapple Tarts Recipe
by Javier Tan March-08-2025
Melt-in-your-mouth and fragrant, these Golden Air Fryer Pineapple Tarts taste just as good, just as golden and will not disappoint. The buttery and not-so-sweet pastry will be sure to match well!
Ingredients
For Tarts:
- 1 Cup or 225g of Unsalted Butter, Softened at Room Temperature
- 2 and 3/4 Cup or 320g of All-Purpose / Plain Flour
- 2 Tablespoon or 20g of Cornstarch / Cornflour
- 1/3 Cup or 65g of Granulated White Sugar
- 1/3 Cup or 40g of Milk Powder (Strongly recommended to have, can replace with flour)
- 1 Large Egg, weighing approx 60g (Can substitute with 2 egg yolks)
- 1/4 Tsp or 1.4g of Table Salt
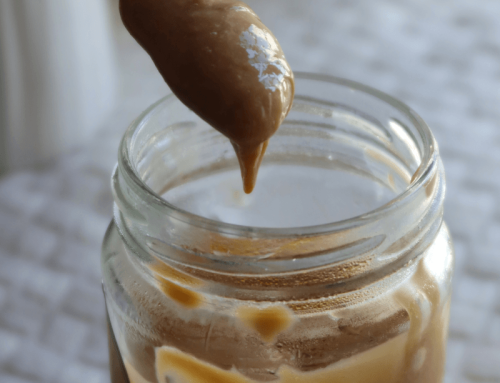
- Approx 400g – 500g of Pineapple Paste Filling
For Egg Wash:
- 2-3 Egg Yolks
Instructions
- Cream together softened butter and sugar until it is light and fluffy, about 2 minutes.
- Then, add in salt and egg and mix well.
- Sift the flour, milk powder and cornstarch.
- Next, fold in the dry ingredients into the mixture containing the well-mixed butter, sugar and egg.
- Roll the pineapple paste into 8-9g balls for filling.
- Then, stretch 10g of dough until its thin and wrap around the pineapple paste ball. Roll it well into a ball or shape it according to your liking.
- Next, apply the egg wash using a pastry brush or clean fingers. Be sure not to only apply to the top and do not let it drip or the base will be sticky after baking.
- Pre-heat your air fryer to 160C for a minute.
- Bake for about 9 to 13 mins baking paper. Timing is for 16 pineapple tarts and will take longer / shorter depending on the quantity used. Make sure to start checking from the 9th minute!
- Serve and enjoy!
Details
- Prep time: 60
- Cook time: 20
- Total time: 1
- Yield: Approx 55-65 fragrant Pineapple Tarts! Recipe can be halved.
Notes:
- If you would like to be updated for more recipes which I strive to create to perfection for sharing and for free, do check out my Instagram, Facebook Page, or YouTube 🙂 Thank you so much for all of your support! Feel free to tag me or link back here!
- Best eaten within 3 weeks!
- Feel free to ask if you need help!
Enjoy!
– Bakeomaniac, Javier Tan

Leave A Comment