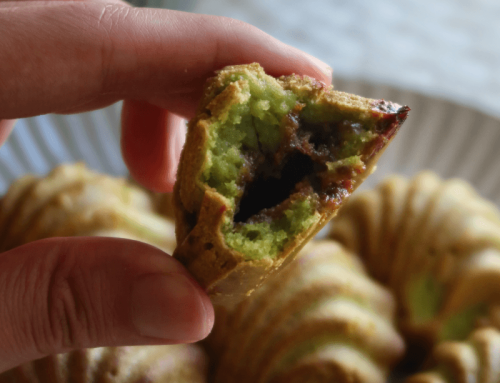
Hokkaido Cheese Tarts became all the craze back then for its amazing flavour and texture – each tart is filled with a melt-in-your-mouth cheese mousse wrapped around by a crispy and buttery tart shell. For such delicious flavours to be produced, an important aspect of it was to use high quality ingredients including cheese and butter. Also, it has a nice balance of sweet and savoury, making it enjoyably addictive.
With these in mind, I set out to make the finest Hokkaido Cheese Tarts in my home kitchen. My experiment to craft the best Hokkaido Cheese Tarts include the use of a blend of three high quality cheeses, and the double baking method to produce buttery, crispy shells.


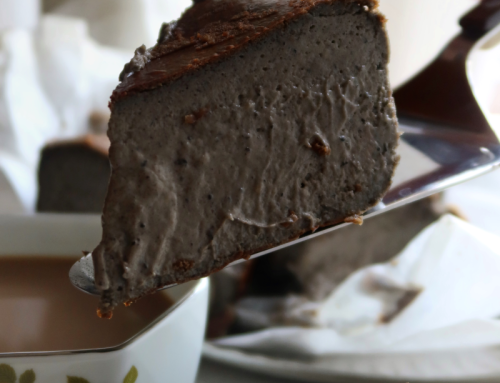
The Cheese Mousse Filling
The cheese mousse filling was an important aspect that has to be mastered. Typically, a blend of cheeses is used for Hokkaido Cheese Tarts to create a harmony of flavours. For myself, I am using 3 USA Cheeses for their high quality, namely Cream Cheese, Plain Burrata and BellaVitano Gold. The main cheese to use for Hokkaido Cheese Tarts would definitely be Cream Cheese for its softness and creaminess. This can be accompanied by two other soft / medium hardness chesses that can melt well.
I decided to pick this Plain Burrata for its slightly sweet notes, and BellaVitano Gold that is lightly nutty and fruity in flavour.
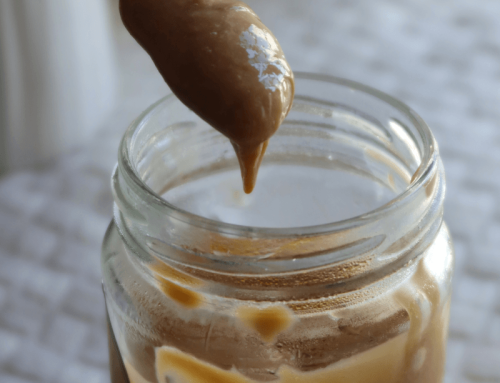
Thereafter, I melted these ingredients with whipping cream, milk and a thickening egg-cornstarch flavour for that smooth cheese mousse filling. Overall, it is rather straightforward, though you would want to pay extra attention to the blend of flavours from the cheeses you pick. Additionally, make sure to strain to remove any lumps!
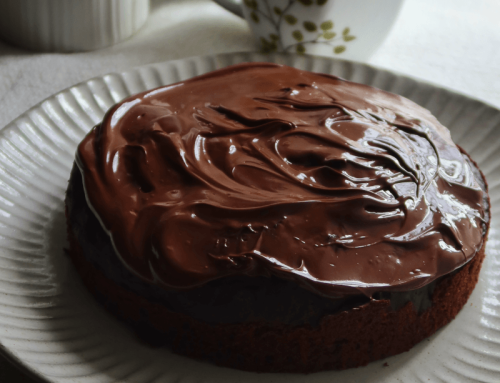
Crispy Tart Shells
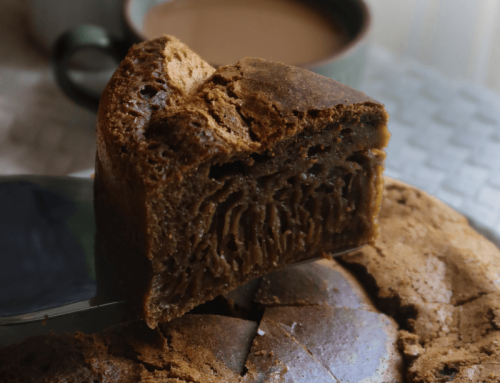
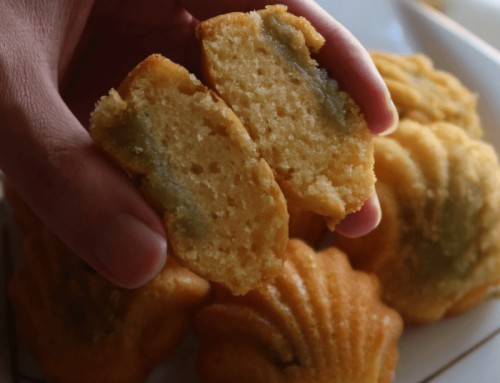
The secret to crispy tart shells? The double baking method. Yes, it is more time consuming, but I assure you it’s all worthwhile! How this is done is after baking in either the egg tart mould or the muffin mould, you will be unmoulding them and baking them for a second round. This really ensures maximum crispiness. For ease and simplicity, I am using a muffin mould here!
Apart from the above, make sure to get your empty stomachs ready, because these will be so good especially when they are fresh out of the oven.
If you’ve any questions, make sure to refer to the video or ask away! Without further ado, the recipe.
Hokkaido Cheese Tarts
by Javier Tan October-19-2024
There’re 2 secrets to the best Hokkaido Cheese Tarts. Use good quality cheeses and a harmony of these, and a double baked crispy shell!
Ingredients (Cream Cheese Mousse)
- 1 Cup or 225 of Cream Cheese
- 40g of Plain Burrata
- 20g of BellaVitano Gold
- 3 and 1/2 Tbspns or 50g of Butter
- 2 Tbspn + 2 Tsp or 40ml of Whipping Cream
- 2 Tbspn + 2 Tsp or 40ml of Milk
+ Egg Mixture consisting of 1 Egg Yolk, 40g Icing Sugar (1/3 Cup) and 15g Cornstarch (1 and 1/2 Tbspns)
Ingredients (Double Baked Crispy Shells) + Assembly
- 1/2 Cup or 110g of Butter, Cold and Cubed
- 2 Cups or 250g of All-Purpose Flour
- 2/3 Cup or 80g of Icing Sugar
- 1 Egg
- Assembly – 1 Egg Yolk (Egg Wash)
Instructions
- Firstly, melt all the ingredients for cheese mousse apart from egg mixture at low-heat until combined and silky.
- Then, add in the egg mixture while stirring for 3 – 4 minutes until slightly thickened.
- Strain to remove any lumps, set aside to cool with a plastic wrap covering even the top of the cheese mousse.
- For the tart shells, cut the butter into the flour and icing sugar mix until coarse crumbs. Add in 1 egg to gel everything together.
- Next, roll the dough out until approx 3 – 5mm (personal preference), and cut out circles to place in oiled muffin mould (tart shells work too). Poke holes to the base using a fork.
- Bake 180C for 16 mins, then unmould and bake the second round for 8 mins. Set aside to cool for 15 mins.
- Pipe in the cheese mousse and brush with egg yolk. Bake 200C for 6 – 8 mins until nicely golden brown.
- Serve and enjoy!
Details
- Prep time: 1 hour
- Cook time: 1 hour 20 mins
- Total time: 2 hours 20 mins
- Yield: 10 Melty Hokkaido cheese Tarts
Notes:
- If you would like to be updated for more recipes which I strive to create to perfection for sharing and for free, do check out my Instagram, Facebook Page, or YouTube 🙂 Thank you so much for all of your support! Feel free to tag me or link back here!
- Serve fresh at room temperature (on the day itself and up to 4 days) or in a fridge (up to a week). If refrigerated, do remove it 20 – 30 mins prior to serving.
- Please do not copy and paste the recipe without my permission, but feel free to link back here!
Enjoy!
– Bakeomaniac, Javier Tan


Leave A Comment