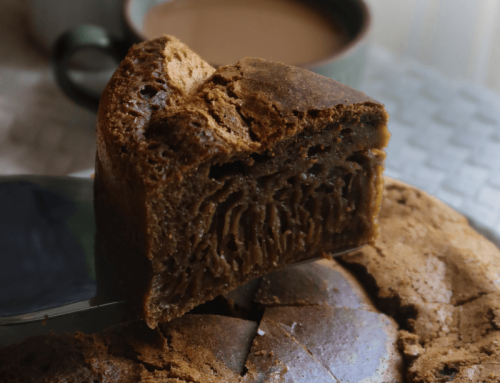
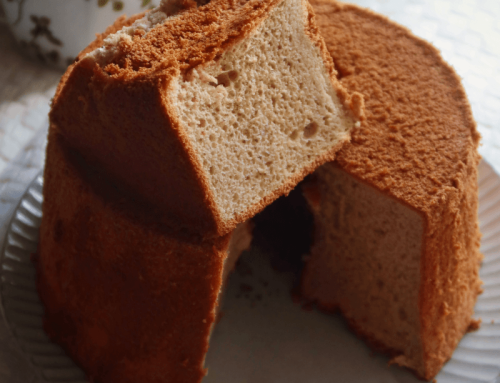
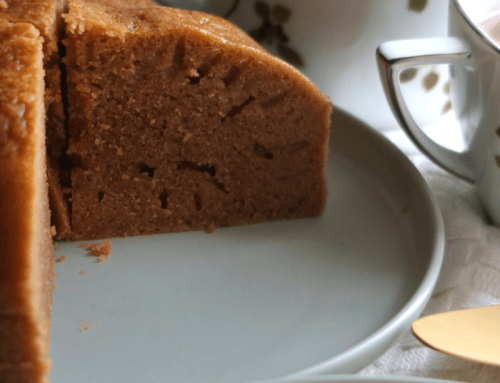
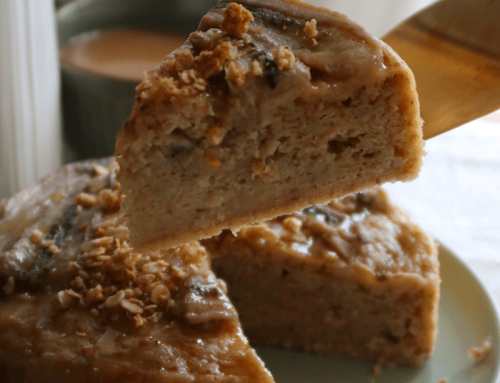
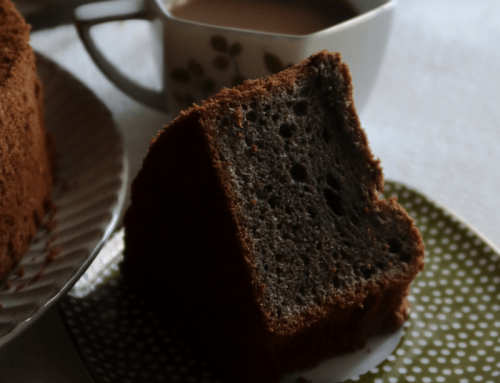
Inspired by a popular Southeast Asian layered cake, the Kuih Lapis, I thought to incorporate prunes into my cake too! So tadah, there you have it, a fragrant, fluffy Prune Butter Cake. Each bite is guaranteed to come with the natural sweetness of prunes with buttery notes. Furthermore, I like to add extra prunes at the top to give that distinctive prune finish similar to the Kuih Lapis.


For my choice of prunes, I am using pitted, dried Amazon prunes for it’s quality. Additionally, dried prunes having less water content, tends to pack more sweetness in each bite. As such, every little bit of prune goes a long way in enhancing the flavours of this Prune Butter Cake. I would also put 150g of dried prunes at a good start. Then, if you would like something with a more acidic, pronounced punch, consider soaking them in brandy or vodka.
Now, onto my secrets in making this Prune Butter Cake a success, and I hope these tips would be helpful for you too!
- Mix in things bit by bit. This extends to the eggs (1 at a time) and the milk (in two batches). While this recipe does look really simple to execute, taking the time to incorporate the ingredients help ensure a fluffy finish. Furthermore, this also ensures that the entire cake is uniform in texture. Please do note as well not to overmix the final stage of folding in the flour or it will result in a dense cake!
- Mix prunes with flour! To ensure that the chopped prunes are well distributed throughout the cake without sinking, coat all of them with flour. This extra step holds the chopped prunes in place while the cake is baking. Furthermore, this is really simple to do.
- Room temperature ingredients. This will really help to incorporate everything in smoothly.
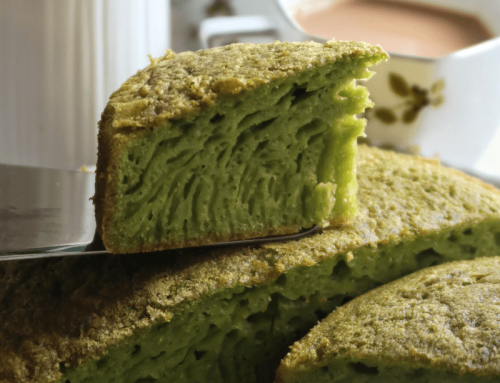
If you’re a fan of butter cakes, do try out my Classic Tea Time Butter Cake and Banana Butter Cake too! Without futher ado, the recipe.
Prune Butter Cake
by Javier Tan June-08-2025
This delightful Prune Butter Cake is nicely fluffy, buttery with little bursts of sweetness from all natural prunes. Goes great with a cuppa!
Ingredients
- 1 Cup or 225g of Unsalted Butter, Softened
- 1/2 Cup + 2 Tbsp or 140g of White Sugar
- 3 Eggs
- 2 Tsp or 10ml of Vanilla Essence
- 1/3 Cup or 80ml of Milk, Room Temp
- 1 and 1/2 Cup or 190g of All-Purpose Flour, sift if clumpy
- 1 Tsp or 4g of Baking Powder
- Approx 3/4 Cup of Dried, Pitted Prunes, Chopped into Eighths / Quarters + Additional for Topping
Instructions
- Pre-heat your oven to 160C, and line your 8 inch square baking tray with parchment paper.
- First, beat the butter a couple of minutes to loosen, before creaming together with the sugar.
- Then, mix in the 3 eggs, one at a time until well-incorporated.
- Next, whisk in the vanilla, followed by the milk in two batches (40ml for each batch).
- Sift in the flour and baking powder, leaving them at the top of the batter. Then, throw in the chopped prunes on the top and coat the prunes evenly with flour.
- Fold the dry ingredients and prunes into the cake until evenly distributed (but do not overmix). Transfer the batter to the baking tray and hit a few times to dislodge excessive air.
- Bake 52 – 55 mins until nicely golden brown. At the 36 mins mark, I topped the cake with additional prunes (you will need to apply a bit of pressure to let it stick slightly).
- Finally, let the cake cool for at least 30 minutes before slicing in.
- Serve and enjoy!
Details
- Prep time: 30 mins
- Cook time: 50 mins
- Total time: 1 hour 20 mins
- Yield: 1 Delicious Tray of Prune Butter Cake
Notes:
- If you would like to be updated for more recipes which I strive to create to perfection for sharing and for free, do check out my Instagram, Facebook Page, or YouTube 🙂 Thank you so much for all of your support! Feel free to tag me or link back here!
- Can be stored at room temperature for 4 days. Best refrigerated if storing for longer durations, as the higher fruits percentage (and lower sugar / fats) reduces the shelf life of the cake.
- Please do not copy and paste the recipe without my permission, but feel free to link back here!
Enjoy!
– Bakeomaniac, Javier Tan

Leave A Comment