If you love the classic chocolate peanut pairing, these Chocolate Peanut Thumbprint Cookies would certainly be your new obsession! They’re fun to make, irrestibly delicious, and come in two flavour swapped variants, perfect for gifting, snacking, or preparing for festive seasons.
You can either have them as Peanut Cookies filled with Chocolate or as Chocolate Cookies filled with Peanut. What makes these extra special is the thumbprint method. Each cookie is shaped by hand, leaving a well in the centre that gets filled with a contrasting flavour. It’s nostalgic, a little rustic, and very satisfying.
Let’s dive into the two flavour variations!


Peanut Cookies with Chocolate Centre
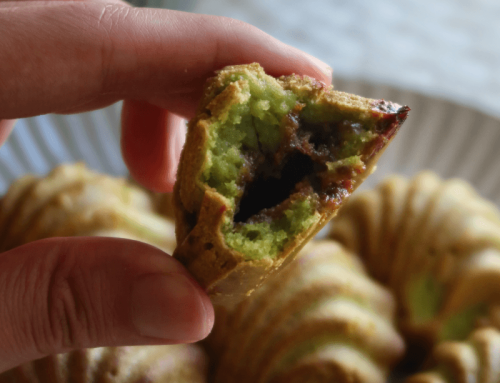
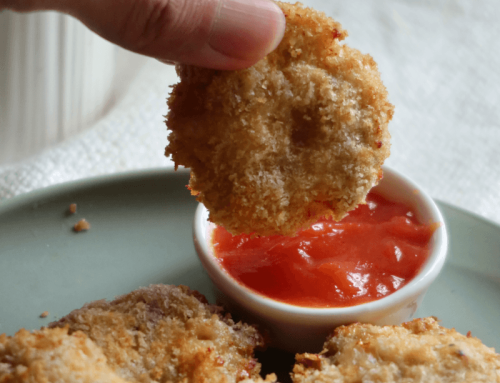
This version features Chocolate Peanut Thumbprint Cookies with a buttery, nutty cookie base rolled into little balls. Before baking, each centre is filled with a rich chocolate spread. I like to top mine off with extra chopped peanuts for the perfect overall bittersweet and crunchy finish.
Chocolate Cookies with Peanut Centre
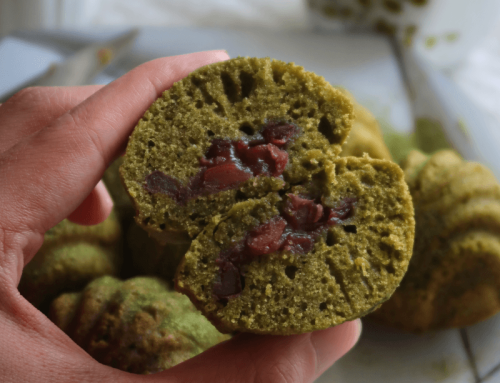
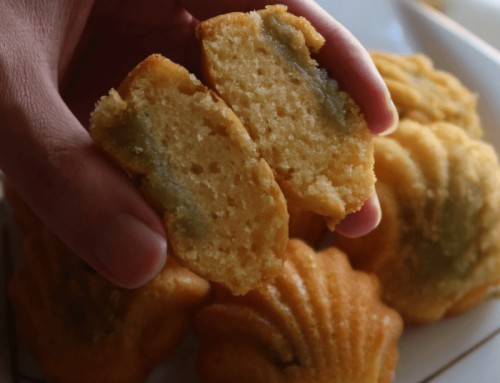
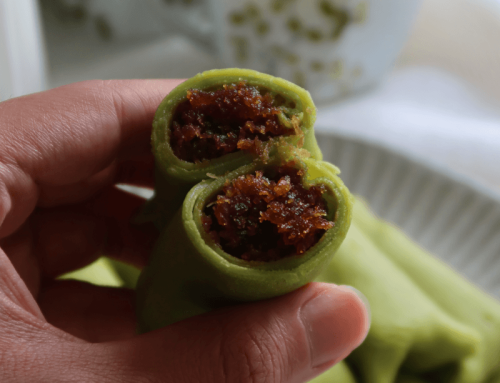
If you prefer deeper flavours, this version flips around the profile. We have a cocoa rich cookie base with a creamy peanut filling. I especially like the fragrant peanut burst in the centre, and topped with extra chopped dark chocolate.
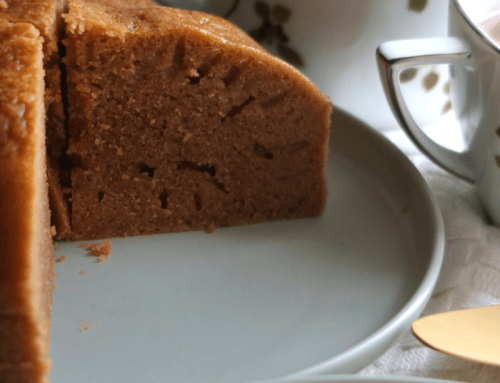
When both these cookies are together, the contrast in flavour and colour makes these super eye-catching in any cookie box. I especially like to serve these on a platter with alternating flavours for that added visual contrast!
Tips to consider
- Portion each dough either using tablespoonfuls or weighing scale (preferred) for uniform, little cookies every time!
- Chill the cookie dough for 15 – 20 minutes if the kitchen is very warm to prevent the cookies from overspreading.
- Use a small tool instead of thumbprints if you would like a more professional looking finish as this helps with consistency. For myself, I used a medicine cap!
Whether you’re team chocolate or team peanut, these Chocolate Peanut Thumbprint Cookies bring out the best of both worlds. The two flavour variants complement each other beautifully, and presenting both together make a simple bake looks like an artisinal treat. Without further ado, the recipe!
Chocolate Peanut Thumbprint Cookies
by Javier Tan December-06-2025
These Chocolate Peanut Thumbprint Cookies come in two versions that bring out the best of both worlds looking nicely artisanal!
Ingredients (Peanut Thumbprints with Chocolate Centre)
- 6 Tbsps or 90g Softened Butter
- 1/4 Cup or 60g of Smooth Peanut Butter
- 1/2 Cup or 45g of Icing Sugar
- Approx 1 Tsp or 5ml Vanilla
- 1 Cup + 1 Tbsp or 135g of Plain Flour
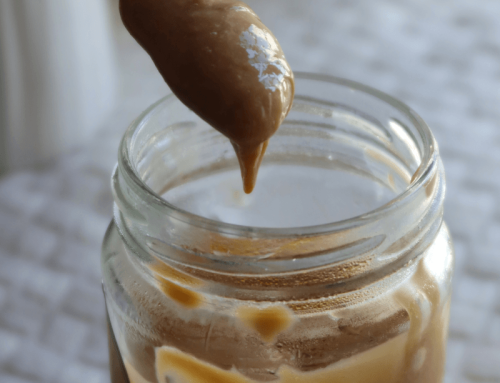
- Approx 150g – 200g Chocolate Spread
- Additional Chopped Roasted Peanuts
Ingredients (Chocolate Thumbprints with Peanut Centre)
- 1/2 Cup or 115g Softened Butter
- 1/2 Cup or 45g of Icing Sugar
- Approx 1 Tsp or 5ml Vanilla
- 1 Cup or 120g of Plain Flour
- 1 Tbsp or 15g of Cocoa Powder
- Approx 150g – 200g Peanut Spread
- Additional Chopped Dark Chocolate
Instructions
- Firstly, cream together softened butter and peanut butter. Then, whisk in icing sugar and vanilla.
- Whisk in the plain flour and refrigerate for 10 minutes.
- Next, roll the dough out (I used approx 17g per cookie). Flatten it slightly and make a hole at the centre using either a round object or thumbs.
- Pipe or spoon in your favourite spreads at the centre.
- Bake at 160C for 13 – 15 minutes until nicely golden brown. Once cooled, top with their respective toppings (chopped peanuts / dark chocolate).
- For the chocolate version, simply repeat the same steps except to omit the peanut butter for step 1, and to add in the cocoa powder in step 2 together with the plain flour.
- Serve and enjoy!
Details
- Prep time: 20 mins
- Cook time: 30 mins
- Total time: 50 mins
- Yield: Approx 24 cookies
Notes:
- If you would like to be updated for more recipes which I strive to create to perfection for sharing and for free, do check out my Instagram, Facebook Page, or YouTube 🙂 Thank you so much for all of your support! Feel free to tag me or link back here!
- Stores well at room temperature for up to a week.
- Please do not copy and paste the recipe without my permission, but feel free to link back here!
Enjoy!
– Bakeomaniac, Javier Tan


Leave A Comment