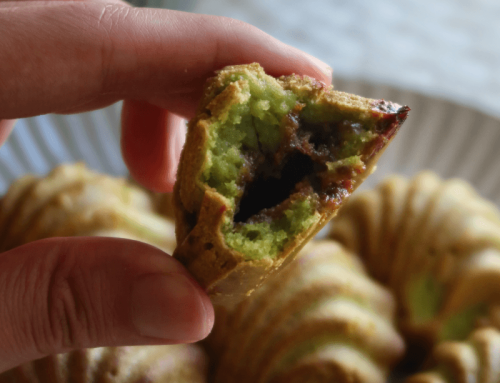
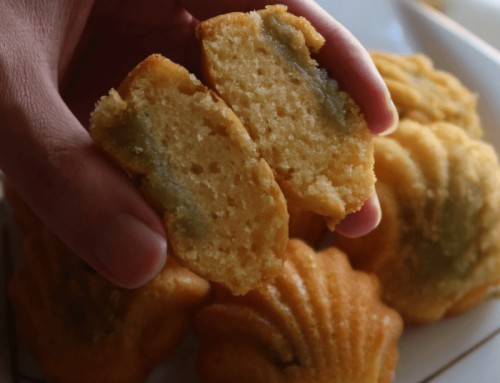
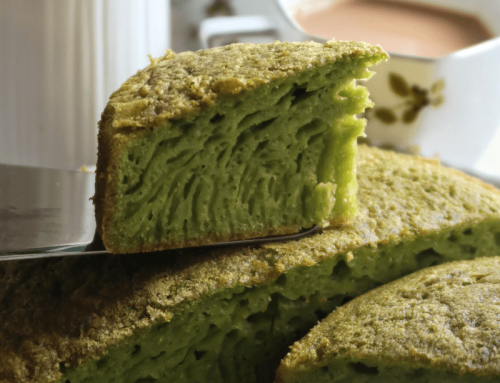
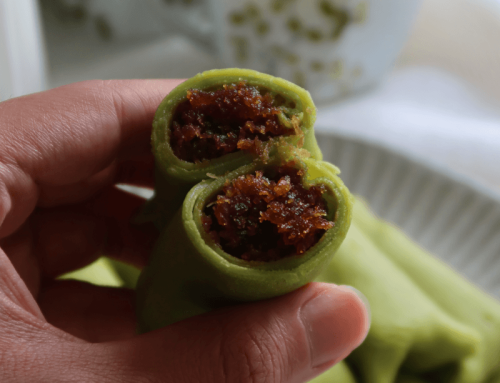
These Matcha Red Bean Madeleines are soft, buttery, earthy and filled with a surprise sweet red bean centre. Made with a stronger amount of matcha powder, these madeleines are perfect for matcha lovers who want the flavour to really come through!
I’ve always loved madeleines because they are elegant yet relatively easier to make. They are perfect for tea sessions, breakfast or as a simple bake to share. For this version, I wanted to give the classic madeleine a Japanese-inspired twist with the familiar pairing of matcha and red bean.
The result? A nicely fragrant, buttery madeleine with a pronounced matcha flavour and a sweet red bean surprise in the middle!


Why You Will Love These Matcha Red Bean Madeleines
- Soft, buttery and lightly crisp around the edges when freshly baked
- Noticeable matcha flavour, which really stands out clearly against the butter and eggs
- Relatively easy to make, the main steps are to whip the eggs and sugar before folding in the ingredients
- Surprise red bean filling, tapping on the famous matcha red bean combination
Tips for a Stronger Matcha Flavour
For a more pronounced matcha flavour, I used 9g of matcha powder in this recipe. This gives the madeleines a stronger matcha profile without making them too dry or overly bitter.
If you’re looking for an even more intense matcha finish, I would suggest for you to give this a try first as all my family and friends agree they could taste the matcha and it was noticeable. Additionally, adding too much matcha can dry the batter out!
Should you like a bolder matcha finish, dust with an extra coating of matcha powder.
Tips for the Red Bean Filling
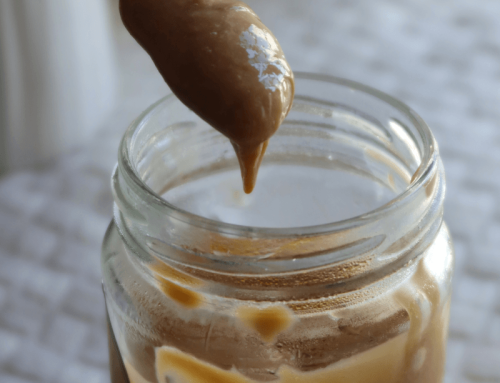
Use a thick red bean paste such as azuki red bean, for this recipe. If the red bean paste is too watery or loose, it may leak, sink or make the centre of the madeleines slightly gummy.
For easier filling, and if it’s too liquidy, you can portion the red bean paste into small balls or logs before assembling. Chilling the red bean paste slightly also makes it easier to handle and place neatly in the centre of each madeleine.
Without further ado, the recipe!
Matcha Red Bean Madeleines Recipe
by Javier Tan June-22-2026
Matcha Red Bean madeleines with a sweet red bean centre. A fragrant Japanese-inspired madeleine recipe perfect for matcha lovers!
Ingredients
- 2 Eggs, approx 60g each
- 1/3 Cup or 70g of White Sugar
- 1/2 Tsp or 2.5ml of Vanilla Essence
- 2/3 Cup or 81g of All-Purpose / Plain Flour, sifted
- 1 Tbsp + 1 Tsp or 9g of Matcha Powder, sifted
- 1/4 Tsp or 1g of Baking Powder, sifted
- 1/3 Cup + 2 Tbsp or 110g of Melted Butter, Cooled to Room Temp (95g for batter, 15g for pan)
- (For Filling) At least 60g of Red Bean paste, I like Azuki Red Bean
Instructions
- First, whisk eggs and sugar until ribbon stage (trail / mark can be formed but disappears in seconds), approx 6 – 8 minutes at high speed.
- Then, whisk in the vanilla.
- Next, fold in the plain flour, matcha powder and baking powder until well incorporated. Do not over mix.
- Fold 95g melted butter into the the batter. It will be liquidy at first but will eventually come together.
- Refrigerate for 30 minutes. Then, transfer to a piping bag.
- Butter the madeleine mould with the remaining 15g and fill half full, before placing a dollop of red bean paste. Then, cover with additional batter until 3/4 full.
- Tap a few times, then bake 180C for first 5 minutes, then 170C for 8 – 9 minutes for a smaller shell mould or 12 – 13 more minutes for a bigger mould like mine.
- Leave to cool and unmould in 10 minutes.
- Serve and enjoy!
Details
- Prep time: 45 mins
- Cook time: 30 mins
- Total time: 1 hour 15 mins
- Yield: 7 – 8 Matcha Red Bean Madeleines
Notes:
- If you would like to be updated for more recipes which I strive to create to perfection for sharing and for free, do check out my Instagram, Facebook Page, or YouTube 🙂 Thank you so much for all of your support! Feel free to tag me or link back here!
- Serve fresh at room temperature (on the day itself and up to 3) or in a fridge (up to 5 days). If refrigerated, do remove it 20 – 30 mins prior to serving.
- Please do not copy and paste the recipe without my permission, but feel free to link back here!
Enjoy!
– Bakeomaniac, Javier Tan


Leave A Comment