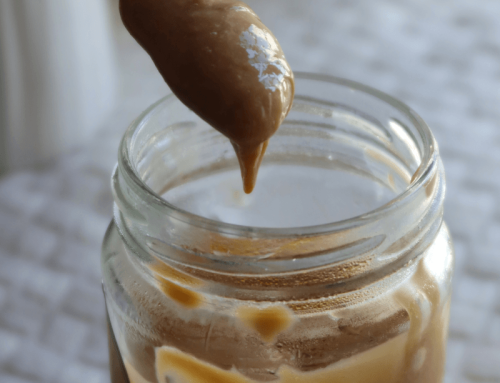
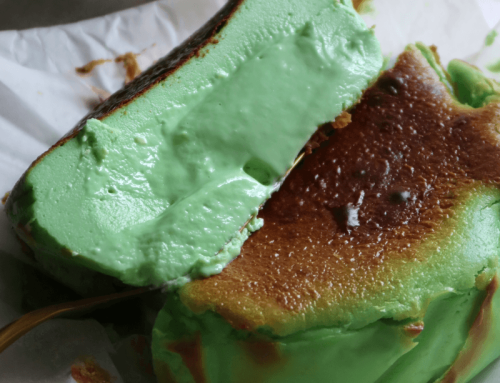
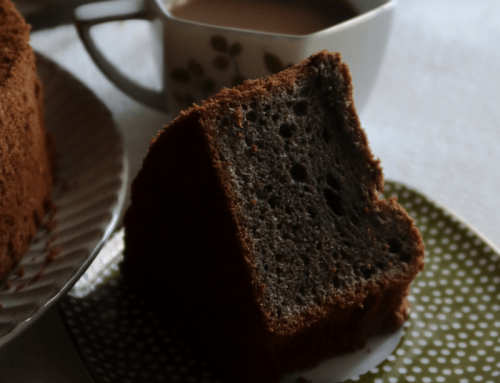
This Black Sesame Basque Burnt Cheesecake is rich, creamy, nutty and beautifully caramelised on top. Inspired by the classic Basque burnt cheesecake, this version comes with the deep roasted aroma of black sesame, making it extra fragrant and slightly more sophisticated.
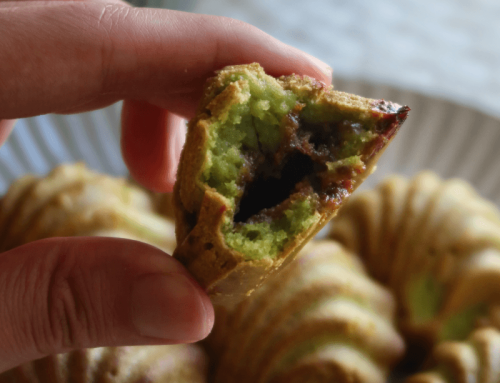
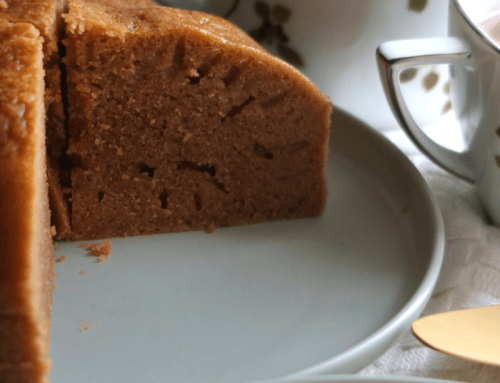
If you love black sesame desserts, this cheesecake is a lovely one to try. It has the signature burnt top (adjustable, such as in picture), a creamy centre, and a bold nutty flavour that pairs so well with the richness of cream cheese. The best part is that it is also relatively straightforward to make, no water bath, no biscuit base and no complicated decorating needed.


Why You Will Love This Black Sesame Basque Burnt Cheesecake
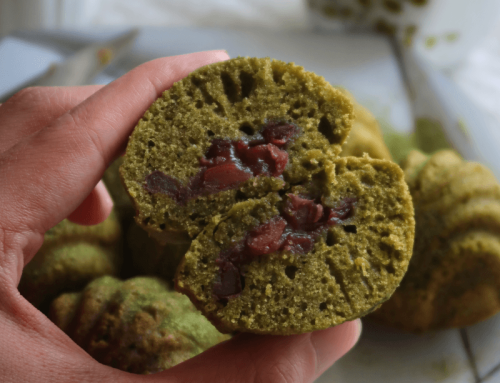
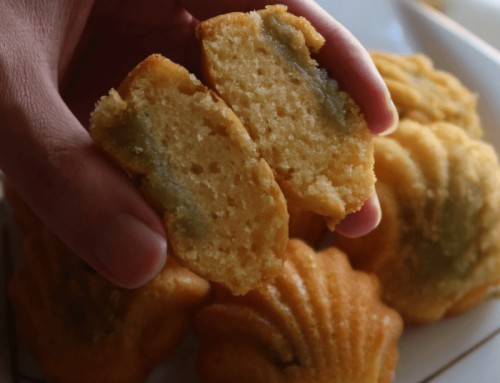
This cheesecake is perfect if you enjoy desserts that are rich but not overly sweet. The black sesame adds an earthy, roasted depth that balances the creaminess of the cheese. I also like how it gives the cheesecake a beautiful grey-black tone, making each slice look effortlessly striking.
Unlike a traditional baked cheesecake, Basque burnt cheesecake is intentionally baked at a high temperature. This gives it a deeply caramelised top while keeping the centre soft, creamy and slightly gooey if you slice it after cooling.
Important Tips
- Use softened cream cheese. This helps the batter come together smoothly and prevents lumps.
- Use black sesame paste for stronger flavour. Black sesame powder alone may not give enough depth, a paste gives a richer flavour and smoother texture.
- When in doubt, strain the batter. This is optional, but highly recommended if you want a smoother cheesecake.
- Do not be afraid of the burnt top. The top should be deeply browned, but not completely burnt throughout. A good Basque cheesecake should have a caramelised, slightly bitter flat top that balances the creamy filling.
- Cool before slicing. If you want gooey servings, let it cool a couple of hours at room temperature. If you want cleaner slices, chill it for at least 4 hours or overnight.
Black Sesame Basque Burnt Cheesecake Recipe
by Javier Tan May-05-2026
Rich, creamy and nutty, this Black Sesame Basque Burnt Cheesecake has a beautifully burnt top and smooth roasted sesame cheesecake centre.
Ingredients
- 1 and 3/4 Cups + 2 Tbsp or 430g Cream Cheese, softened at room temp
- 1/2 Cup minus 1 Tbsp or 90g of White Sugar
- Approx 3 Tbsp or 55g of Black Sesame Paste
- 2 Large Eggs, approx 60g each
- 2/3 Cup or 160g of Whipping Cream
- 2 Tbsp + 2 Tsp or 40ml of Milk
- 3 Tbsp or 20g of Toasted Black Sesame Powder
- 1 and 1/2 Tbsp or 12g All-Purpose / Plain Flour
- Pinch of Salt
Instructions
- In a large bowl, cream together the cream cheese and sugar. Then, mix in the black sesame paste until of a single colour.
- Next, whisk in the eggs, one at time until well incorporated.
- Mix in the whipping cream and milk.
- Then, whisk in the black sesame powder, plain flour and pinch of salt. If you would like an extra smooth cheesecake, sieve the batter.
- Set two long strips of parchment paper and form an “X” over a 6 inch round pan and fold down the edges. Pour the batter into the cake pan, and tap gently against the counter a few times to dislodge excessive air bubbles.
- Bake at 230C (pre-heated already), 25 – 28 minutes until nicely caramelised. If the top is getting burnt, cover with a piece of aluminium foil.
- Cool for 2 hours at room temp before slicing (for gooey texture), or refrigerate (if storing for later, firmer texture).
- Serve and enjoy!
Details
- Prep time: 30 mins
- Cook time: 1 hour
- Total time: 1 hour 30 mins
- Yield: 1 Creamy Black Sesame Basque Burnt Cheesecake
Notes:
- If you would like to be updated for more recipes which I strive to create to perfection for sharing and for free, do check out my Instagram, Facebook Page, or YouTube 🙂 Thank you so much for all of your support! Feel free to tag me or link back here!
- Keeps well refrigerated, preferably covered, for at least a week.
- Please do not copy and paste the recipe without my permission, but feel free to link back here!
Enjoy!
– Bakeomaniac, Javier Tan


Leave A Comment