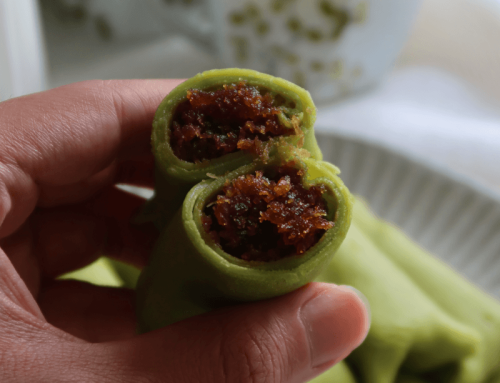
There’re some flavours that instantly remind me of breakfast, and kaya is definitely one of them. Whether spread over crisp toast with a slab of butter, used as a filling for buns, or tucked into pastries, kaya has that familiar coconut, egg, and pandan fragrance that feels so comforting.
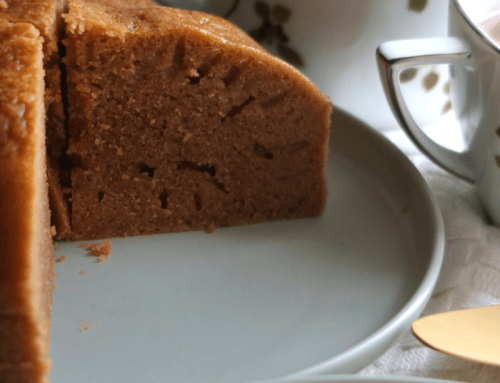
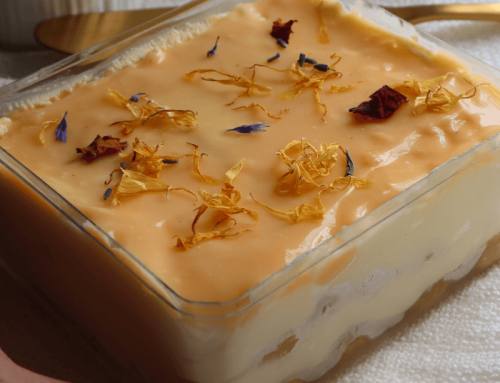
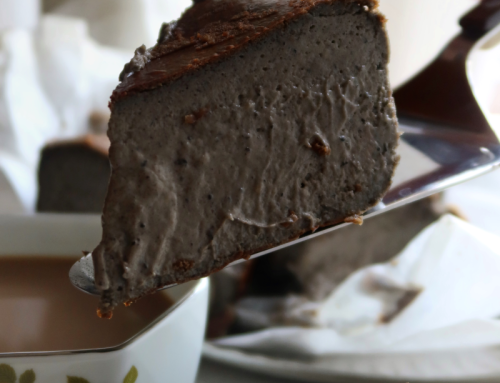
For this Homemade Gula Melaka Kaya Recipe, I wanted to make a smooth and beginner-friendly version with a deeper caramel-like flavour. Unlike the familiar green pandan kaya, this version uses gula melaka, which gives the kaya a naturally golden-brown colour and a richer aroma.
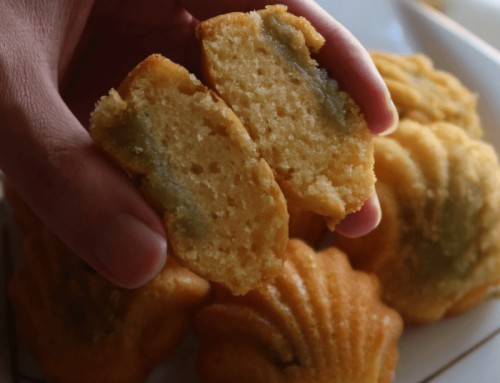
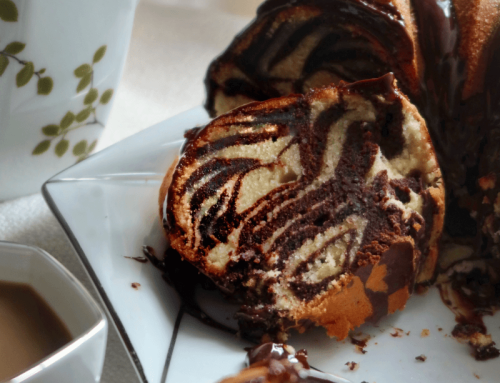
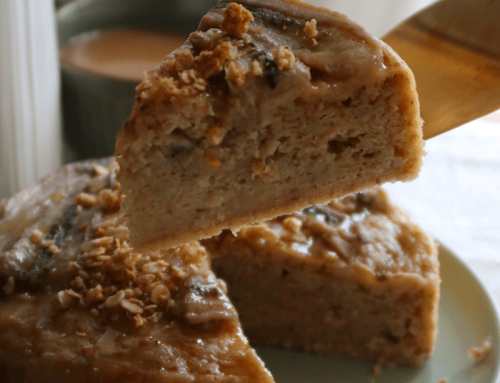
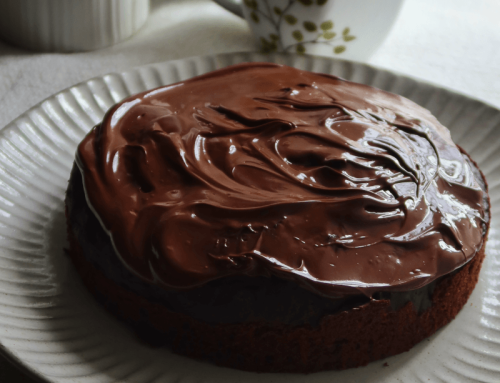
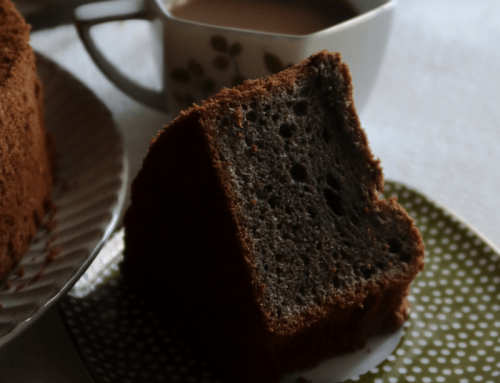
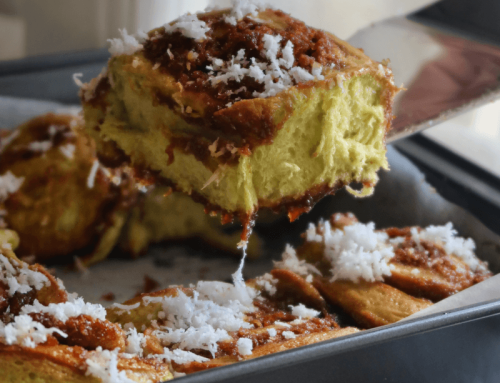
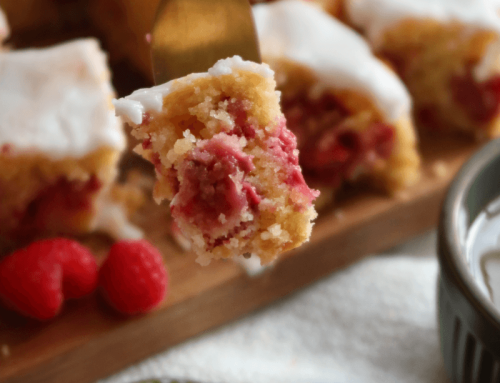
Additionally, this recipe produces a smooth, creamy, and flowy kaya that thickens once chilled. It is especially delicious with toast and salted butter, but it also works beautifully as a filling for madeleines, buns, swiss rolls and other bakes!


Why Gula Melaka Kaya?
There are many different styles of kaya. Some are greener and more pandan-forward, while others such as this one are browner, richer and more caramelised.
The gula melaka adds a deeper sweetness and a lovely caramel fragrance that pairs really well with the coconut milk and pandan. It also gives the kaya a more old-school, kopitiam-style warm, though the texture here is blended to be smoother and more beginner-friendly.
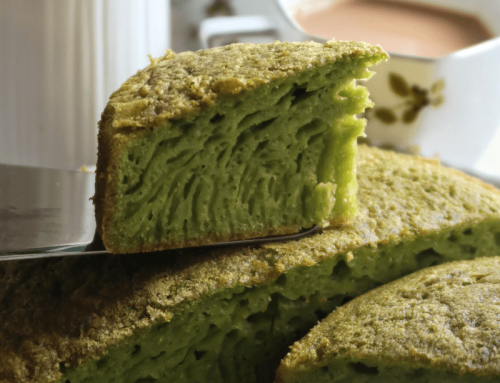
If you’re looking for a bright green kaya, this is not that version. Instead, I will recommend using white sugar and pandan extract or pandan paste for this, and I will be sure to share the next round!
Tips for Success
- Slight curdling is common when making kaya, especially if we are cooking it directly over the stove. Kaya is essentially made of predominantly coconut and eggs, so the eggs can set too quickly if the heat is not gentle enough.If your kaya curdles slightly, remove it from the heat and blend it while warm until smoother.
- If your kaya becomes watery after blending, not to worry. This is because blending breaks up the thickened structure, and the kaya will likely thicken again once chilled in the refrigerator.
- While you can reduce the sugar amount, I would not reduce it lower than 90g total, as cutting the sugar too much might result in a more eggy flavour and it may not keep as well.
Homemade kaya takes a little more patience, but once you get used to the gentle heat and constant stirring, it is such a satisfying recipe to make at home!
Without further ado, the recipe.
Video Coming Soon!
Homemade Gula Melaka Kaya Recipe
by Javier Tan June-14-2026
This Homemade Gula Melaka Kaya Recipe makes a smooth, creamy coconut egg jam with pandan and gula melaka, perfect for kaya toast and bakes.
Ingredients
- 4 Egg Yolks, from large egg approx 55g – 60g
- 1 Egg
- 1 and 1/2 Cup or 180g Coconut Milk
- 1/4 Cup + 1 Tbsp + 1 Tsp or 70g White Sugar
- 2 Tbsp + 1 Tsp or 30g Gula Melaka
- Pinch of Salt
- (Optional) 3 – 4 Pandan leaf knots
Instructions
- First, clean your jar (and sanitise it if preferred), dry and set aside.
- Then, in a saucepan, whisk together all the ingredients except pandan leaf until combined, adding the pandan leaf knots thereafter.
- At low hear, stir until the kaya has thickened. This will take a while, approx 10 – 18 mins depending on heat and thickness of the pan. Once it has thickened, remove the pandan leaves.Note: It is okay if it curdles a little, as we will be blending it.
- Remove from heat once thickened and let cool until warm, approx 5 – 10 mins. Then, blend until smooth or to your preferred consistency.
- Transfer to your clean jar and let it sit until cool (approx 15 mins). Cover and refrigerate it.
- The kaya will thicken in the refrigerator, and can be stored for at least a week.
- Serve and enjoy!
Details
- Prep time: 15 mins
- Cook time: 20 mins
- Total time: 35 mins
- Yield: A jar of Gula Melaka Kaya
Notes:
- If you would like to be updated for more recipes which I strive to create to perfection for sharing and for free, do check out my Instagram, Facebook Page, or YouTube 🙂 Thank you so much for all of your support! Feel free to tag me or link back here!
- Best refrigerated due to coconut content, and it can be refrigerated for at least a week!
- Please do not copy and paste the recipe without my permission, but feel free to link back here!
Enjoy!
– Bakeomaniac, Javier Tan


Leave A Comment