Every year, I try to find a fun yet fuss-free way to create beautiful cookie assortments for gifting. This season, I am sharing one of my favourite baking hacks: one base cookie dough that transforms into nine irresistible flavours (and more!). It’s simple, endlessly customisable and perfect for creating an impressive cookie box without too much stress.
All you would need are basic ingredients you can already find at home starting with butter, icing sugar and vanilla. From here, you can build an entire collection of flavours and designs. Once the dough comes together, simply divide it, customise each portion, and add your dry ingredients last to bring your creations to life.

Here’s what I made for my cookie box:
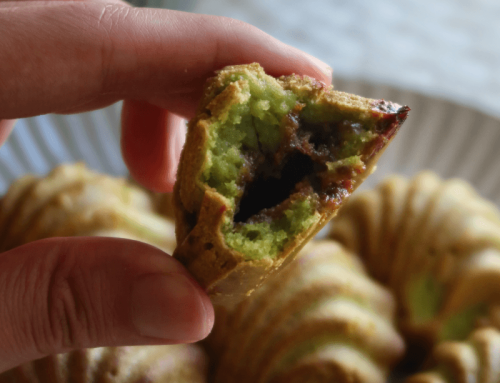
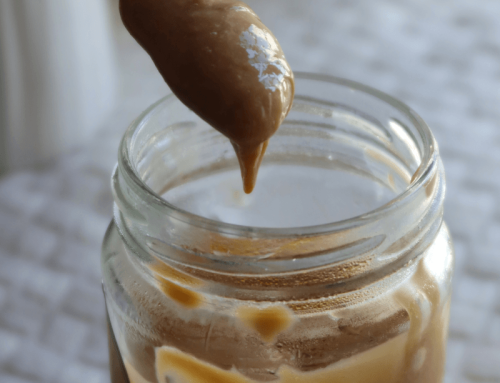
- Chocolate Linzers (Filled with chocolate spread)
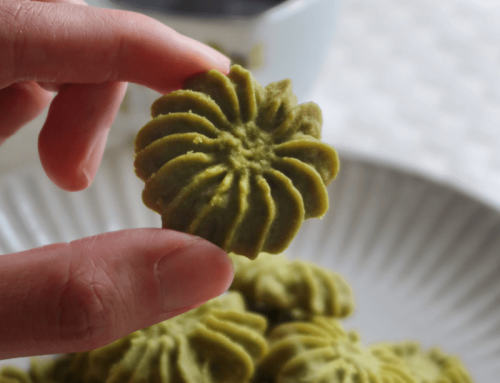
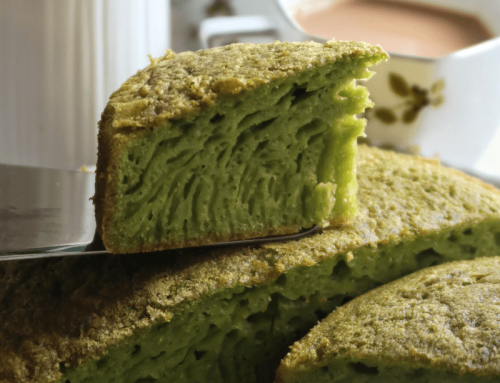
- Piped Green Tea Cookies
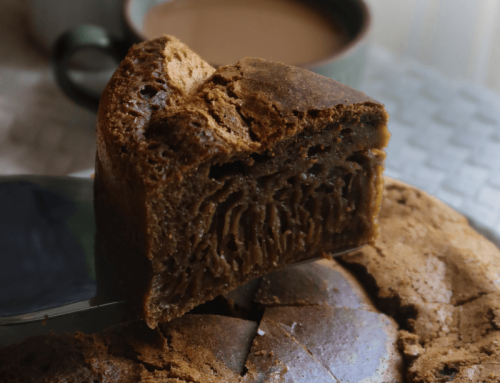
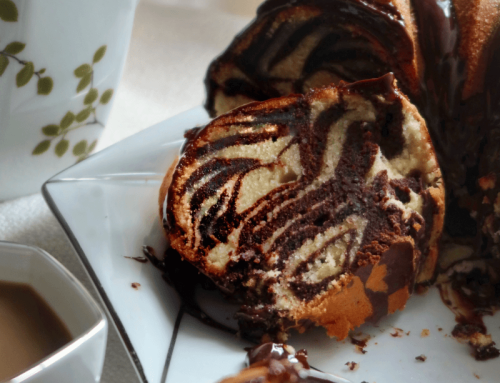
- Checkerboard Cookies
- Red Velvet Cream Cheese Cookies
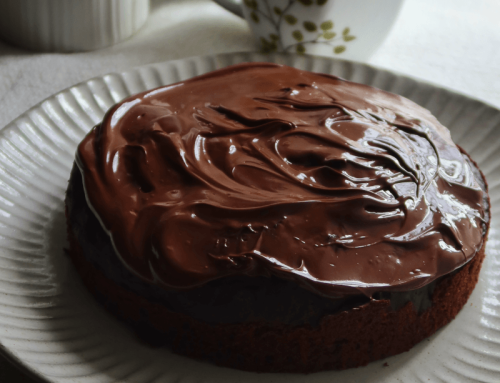
- Chocolate Jam Thumbprints
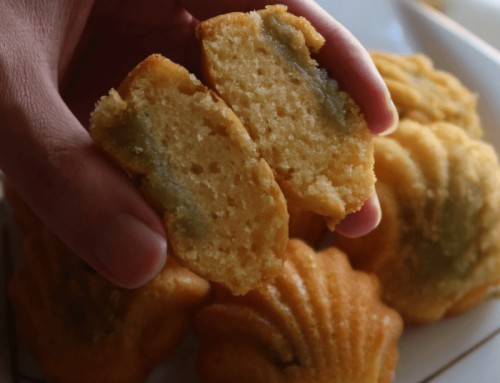
- Pandan Cookies
- Cranberry Butter Cookies
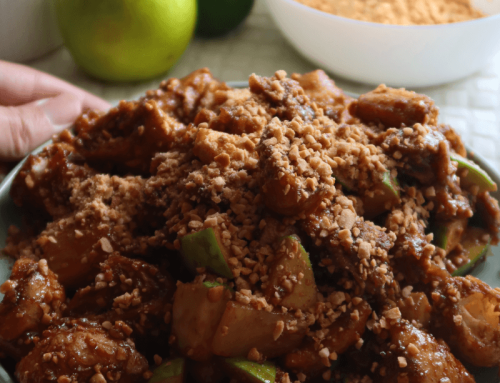
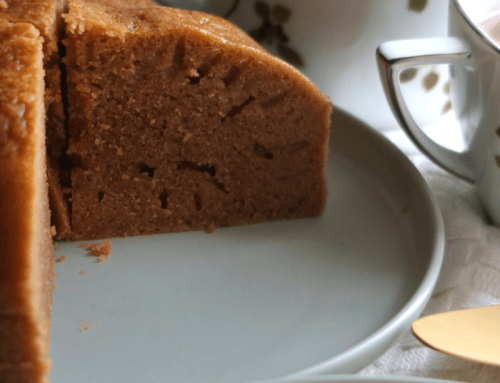
- Peanut Cookies
- Lemon Lavender Cookies
Here’s how the one dough concept works:
- Cream together the ingredients to form a base
- Divide the dough into portions that you want (recipe card for recommended steps to maximise the number of flavours)
- Customise each flavour before adding the flour, so that you won’t overwork the dough
Then, you can get all creative by customising different flavours. Once combined, add the flour (and cocoa powder where applicable for chocolate flavours) to each customised dough and continue shaping. I also like to keep a small portion of dough on standby for last-minute ideas or cookie cutters, perfect for linzer style cookies or other decorative shapes.
This recipe works so well because it’s minimum fuss with just one base and comes with aesthetic variety. It’s also really budget friendly as you get high impact through a single cookie box with various flavours, also making it perfect for gifting.
Enjoy experimenting, and tag me if you make your own version, I would love to see your cookie boxes!
Without further ado, the recipe.
9 Irresistible Cookies 1 Dough
by Javier Tan November-30-2025
These Checkerboard Cookies come with an eye-catching pattern and are buttery, melt-in-your-mouth, the perfect balance of style and substance.
Ingredients (Vanilla)
- 1 Cup or 230g of Butter, Softened at Room Temp
- 1 Cup or 90g of Icing Sugar
- 2 Tsps or 10ml of Vanilla
- (Up to) 1 and 1/4 Cup or 290g of All-Purpose Flour
- (up to) 1/3 Cup or 30g of Cocoa Powder
Instructions
- Firstly, cream together the butter and icing sugar until light and fluffy, approx 2 minutes. Then whisk in the vanilla.
- Split the batter into 2/3 or 220g (vanilla) and 1/3 or 110g (chocolate).
- Chocolate batter (3 Cookies): Mix in 78g flour and 13g cocoa powder. Use this for the Checkerboard cookies (strips), and save a small portion for Linzer (cookie cutter, chocolate bottom). Leftover can be used for thumprints and jam.
- Vanilla batter (6 Cookies):
(a) Pandan: 35g batter + 1/2 tsp pandan + 30g flour
(b) Red velvet cream cheese: 35g batter + red food colouring + 30g flour + 30g cream cheese bits
(c) Peanut: 35g batter + 20g peanut butter + 35g flour, coat with extra peanuts and bake
(d) Checkerbords: 110g batter + 95g flour, cut into strips and merge with chocolate strips. Leftovers can be for
(e) Cranberry butter: Mix in leftover batter with cranberries
(f) Green tea: Mix in leftover batter with green tea powder
(g) Linzer (Vanilla top) - Bake 160C for 13 – 15 minutes until nicely golden brown, adjust depending on cookie size.
- Serve and enjoy!
Details
- Prep time: 1 hour
- Cook time: 40 mins
- Total time: 1 hours 40 mins
- Yield: Makes an assortment of 9 different cookies
Notes:
- If you would like to be updated for more recipes which I strive to create to perfection for sharing and for free, do check out my Instagram, Facebook Page, or YouTube 🙂 Thank you so much for all of your support! Feel free to tag me or link back here!
- Most stores well at room temperature for up to 2 weeks, best consumed within the first couple of weeks. Note, for red velvet cream cheese and thumbprints, they are best consumed within 5 days.
- Please do not copy and paste the recipe without my permission, but feel free to link back here!
Enjoy!
– Bakeomaniac, Javier Tan


Leave A Comment