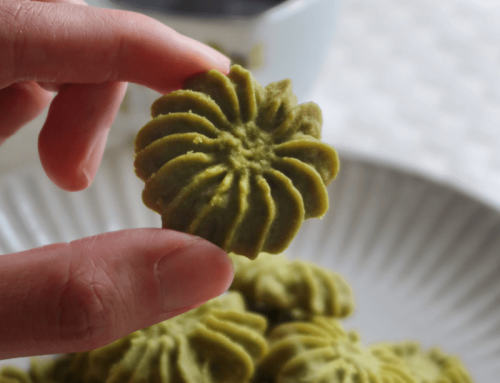
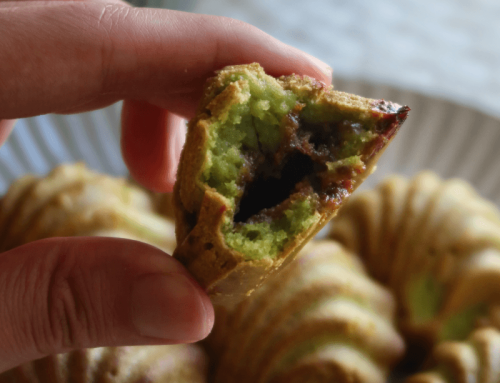
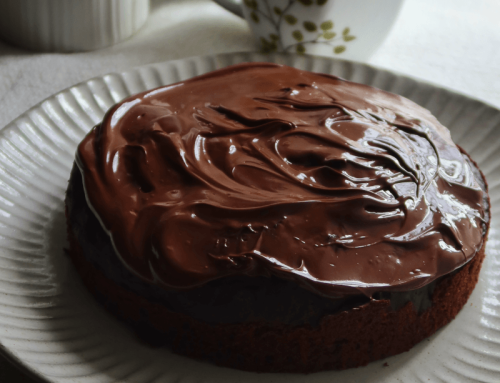
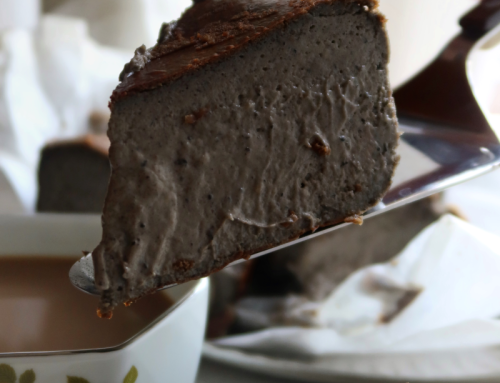
If you’ve ever walked past a bakery and caught a whiff of freshly baked cheese tarts, buttery, creamy and slightly tangy, you will know exactly why they are a crowd favourite. Today, I am sharing my verision of these mini baked cheese tarts: bite-sized treats that are perfectly crisp on the outside, with a gooey, molten cheese centre that melts in your mouth.
They’re dangerously addictive (consider this your warning!) and surprisingly easy to make at home.


Here are some reasons why you will fall in love with these mini baked cheese tarts just like I did:
- Bite-sized perfection, they are easy to serve and even easier to eat, one is never enough!
- Crisp and buttery crust, my shortcrust recipe stays crisp even after baking and cooling
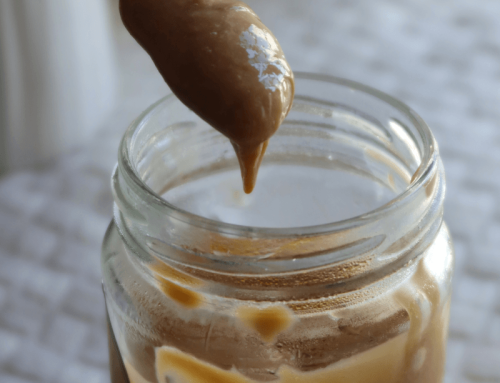
- Rich, creamy filling, a smooth blend of cream cheese, milk and a touch of tang for balance
- Cafe quality results, golten tops, molten centres and that signature aroma
In addition, you can choose to roll out your dough before using a cookie cutter, or to place the dough direct into the well-oiled mini muffin tray and pressing it in. I would much prefer to put the dough direct to save time, but you would have to ensure to press it hard into the mini muffin tray to ensure that the tart shells are nicely thin with even thickness throughout.
My secret to that gooey, creamy centre is to let the tarts chill before piping the cheese filling in and baking. This simple step slows down how fast the filling sets in the oven, giving you that luscious, creamy middle instead of a fully firm custard. I also recommend baking at a slightly higher temperature for a short time, enough to set the crust and lightly browns the top without drying out the filling.
If you would like the non-mini and standard size version, consider this recipe: https://bakeomaniac.com/hokkaido-cheese-tarts-recipe/
Without further ado, the recipe!
Mini Baked Cheese Tarts
by Javier Tan October-23-2025
These Mini Baked Cheese Tarts come with crisp, buttery shells that hold gooey, molten cheese centres that will leave you longing for more!
Ingredients (Cream Cheese Mousse)
- 1 Cup or 225 of Cream Cheese
- Approx 3/4 Cup or 60g of Brie (you can swap out with any preferred cheese, or more cream cheese)
- 3 and 1/2 Tbspns or 50g of Butter
- 2 Tbspn + 2 Tsp or 40ml of Whipping Cream
- 2 Tbspn + 2 Tsp or 40ml of Milk
+ Egg Mixture consisting of 1 Egg Yolk, 40g Icing Sugar (1/3 Cup) and 15g Cornstarch (1 and 1/2 Tbspns)
Ingredients (Double Baked Crispy Shells) + Assembly
- 1/2 Cup or 110g of Butter, Cold and Cubed
- 2 Cups or 250g of All-Purpose Flour
- 2/3 Cup or 80g of Icing Sugar
- 1 Egg
- Assembly – 1 Egg Yolk (Egg Wash)
Instructions
- For the tart shells, cut the butter into the flour and icing sugar mix until coarse crumbs. Add in 1 egg to gel everything together.
- Next, roll the dough out until approx 3 – 5mm (personal preference), and cut out circles to place in oiled muffin mould (tart shells work too). You can also place a ball of dough, 14gg – 16g, direct and use a press or a spoon. Poke holes to the base using a fork.
- Bake 180C for 15 mins, set aside to cool for 5 mins before unmoudling.
- Meanwhile,melt all the ingredients for cheese mousse apart from egg mixture at low-heat until combined and silky.
- Then, add in the egg mixture while stirring for 3 – 4 minutes until slightly thickened.
- Strain to remove any lumps, set aside to cool with a plastic wrap covering even the top of the cheese mousse.
- Pipe cheese mouuse into tart shells and brush with egg yolk. Bake 200C for 6 – 8 mins until nicely golden brown.
- Serve and enjoy!
Details
- Prep time: 1 hour
- Cook time: 1 hour 20 mins
- Total time: 2 hours 20 mins
- Yield: At least 22 Mini Baked Cheese Tarts
Notes:
- If you would like to be updated for more recipes which I strive to create to perfection for sharing and for free, do check out my Instagram, Facebook Page, or YouTube 🙂 Thank you so much for all of your support! Feel free to tag me or link back here!
- Serve fresh at room temperature (on the day itself and up to 4 days) or in a fridge (up to a week). If refrigerated, do remove it 20 – 30 mins prior to serving.
- Please do not copy and paste the recipe without my permission, but feel free to link back here!
Enjoy!
– Bakeomaniac, Javier Tan


Leave A Comment