With my friends trying out my recipes, I realized that they do question the baking terminologies I have used as they do not have a full understanding and grasp of these baking terminologies, including processes.
This brings me back to the days when I was a newbie at the hobby, googling term after term and going on a reading binge to understand what these terms encompasses. I always try to ensure that I am able to fully grasp hope of these terms so that it will not compromise the methods involved. I always believe in making the fullest out of the ingredients I have and ensuring they don’t go to waste.
As such, I thought it would be great for some of these common baking terminologies to be explained so that you can enjoy the baking experience even better!
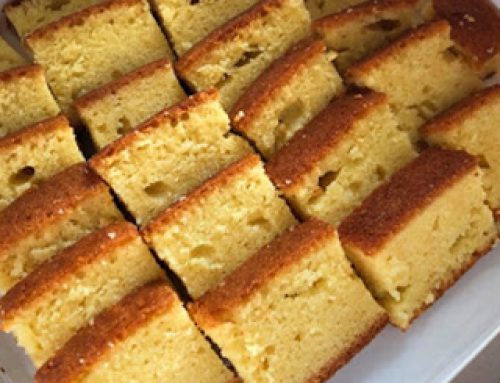
1. Smooth
We see this very often when we are melting things of different consistencies. For example, the melting of chocolate and butter in the making of brownies, or the melting of things that stubbornly refuse to incorporate into each other at room temperature such as honey and butter.
When the term “smooth” is used, it refers to that there are no lumps or clumps, and that it is a single liquid mixture. It means that there are no remnants of the original ingredients and you only see a single mixture. For example, the chocolate chips melted into the butter can’t be seen, but it is seen as a single entity with the butter.
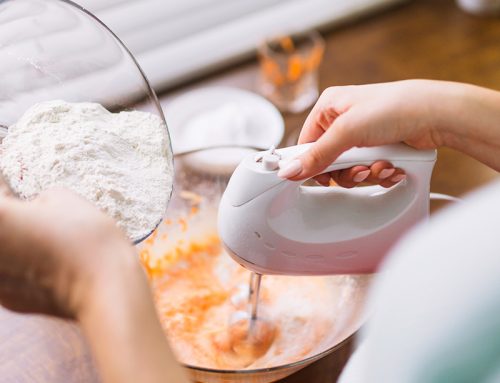
2. Creaming ( butter and sugar )
Creaming butter and sugar together is a very common process that is utilized in many recipes including that of the making of cakes and cookies. We cream butter and sugar together to incorporate more air into the mixture, allowing the final product to be lighter and fluffier, along with the dissolving of sugar before we add the other ingredients.
In order to cream successfully, we will usually beat the butter for a couple of minutes to loosen it, and then incorporate in the sugar and beat, until it can be noticed that the mixture has almost doubled in mass. Along which, we will notice that the yellow colouration of the butter has became lighter. This process is called creaming.
3. Mix until just incorporated
This instruction is to ensure that we will not overmix the batter. This is often seen in batters that involve flour because we do not want to over activate the gluten in the flour and cause the baked good to be doughy ( similar to that of bread, which is not pleasant in a cookie! ).
As such, we will only mix until we can see no more solids present. To facilitate this, I often use a rubber spatula to scrape the bottom and sides of the bowl to ensure that the whole mixture is mixed together.
When I was starting out, I was often paranoid and went further to beat, much to my regret. Rest assure that when they ask you to beat until just incorporated, fewer beats do better than more. You can always do a couple of stirring that goes through a huge portion of the batter for extra assurance, but do not over do it!
Do note that we always use butter softened at room temperature to ensure that we are able to successfully cream it. It will be difficult to cream a whole lump of butter!
4. Punching down
Whenever yeast is involved, especially in bread making, it is often to see the term “punch down”. What a violent name for a gentle process, excuse you!
It actually refers to just gently poking ( well I poked ), or you can use a fist, to release the air from the dough. Please do not punch it with full force! Treat your dough with love, and your bread will come out even tastier!
5. Cutting of butter into ( sugar, flour etc )
Usually this can be done through a food processor, a pastry blender or two forks.
For me, I am currently using a pastry blender.
For this process, we use cold cubed butters and we combined it into the flour sugar mixture ( or what mixture you have that requires this process ) and then incorporate the butter in by slicing it in until it resembles coarse crumbs ( or other size required ) dispersed over the entire flour mixture. You have to work quickly so that the butter won’t melt or it would have defeated the whole purpose of cutting the butter in. Do take note of the size required.
6. Lightly floured surface ( how much flour? )
It always puzzles me how much flour to add. As a general guideline, I usually add about 3-4 and spread it evenly. I will even add more along the way if I feel that the dough or batter I am working with is sticky.
Although it is said that it’s “lightly” floured, I would say just go ahead and flour it generously. However, always ensure to pat off the extra flour. As you might accidentally incorporate too much flour into the dough you’re working with and change the final consistency and texture, you might consider cutting down the flour in the dough slightly suc has by a couple of tablespoons.
7. Melt ( But how to? )
Oftentimes, recipes call for us to melt things such as butter and chocolate chips, but how to?
For me, I often use a metal mixing bowl set over a pot of boiling water. The steam from the boiling water will transfer the heat to the mixing bowl and in turn transfer the heat to the ingredients. Metal will be the best material as they’re a great conductor of heat especially relative to that of plastic. Do be careful though and not to burn yourself.
This is a very foolproof way of melting. You can do it directly over the stove top of course without the extra mixing bowl. However, using the extra mixing bowl will give you better control and minimize the risk of burning your precious ingredients! NOTE: BURNT INGREDIENTS CAN BE REALLY DIFFICULT TO WASH!!!
8. Stiff Peaks / Soft Peaks / Firm Peaks
All these refer to the whisking of egg whites with or without an acid stabilizer along with sugars. Through this process, we are able to achieve the different level and consistency of the egg whites necessary for the recipe.
For more information and detailed pictures refer to the link here:
Baking Tip: How to make meringue / stiff peaks
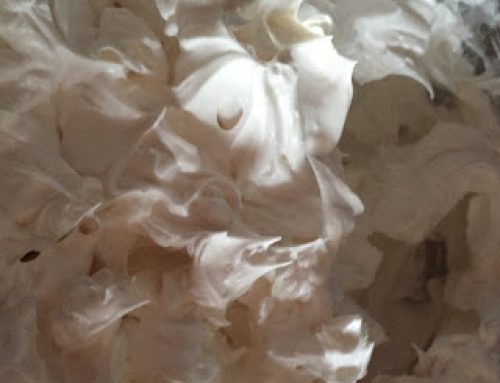
9. Folding
Folding is a gentle and delicate process. We do this so as to incorporate a lighter, airy mixture ( commonly egg whites ) into the batter without deflating it too much, allowing the final product to be still airy.
We will also often incorporate 1/4 or 1/3 of what we are folding ( for example egg whites ) into the batter first by stirring so as to lighten the batter and allow easier incorporation of the other mixture being folded in.
To fold, we usually scrape the sides of the bottom of the bowl using a rubber spatula and then pile it on top of the batter. Do search up youtube for the specific process as it can be difficult to explain in pictures, and my camera isn’t of a decent quality to take a video! I apologize for that and I am really sorry for the inconvenience!
10. Rolling
When we roll out a dough, we usually set it on top of a lightly floured surface and start utilizing a rolling pin to receive the desired thickness.
In this process, we won’t want the dough to stick onto the surface so do ensure there is sufficient flour.
Other things to take note:
- You can also lightly flour your rolling pin to minimize the possibility of the dough being dislodged by your rolling pin.
- Do not constantly roll at the same area as adding pressure constantly at the same location can cause uneven thickness.
- You can use a spatula to dislodge your dough from time to time to ensure it doesn’t stick to the surface.
- If using a cookie cutter, lightly flour the insides as well. Then transfer the dough that has been cut to the baking tray. If at this point, the dough is unable to keep its shape, refrigerate the dough for 30 minutes to an hour and attempt again.
11. Beating
After using beating many times throughout this post, people might question what is beating.
By beating, we are using a spoon, whisk or a mixer to stir vigorously, mixing the ingredients and incorporating air into mixture too.
Hopefully with the explanation of these terms, you will feel that baking as a hobby is less daunting! Do let me know if there are other terms you would like me to explain, and if possible, I will try to explain some with pictures!
All the best,
– Bakeomaniac, Javier Tan!


Leave A Comment